

So we all have it… that drawer full of “play clothes” that are full of stains, or bleach spots. Maybe they are yellowing… but they are still good comfortable clothes for your kids! After working on our easter egg art, I noticed that the paint bean got on her clothes, did not wash out, but the paint she got on her skin washed off easily with soap and water… epiphany!

The chocolate ice cream incident of 2012…
Ive been collecting a variety of stained white or grey clothing in a bag for awhile now with the intent to dye them, but the permanency of dye around my sweet toddler scared the life out of me. I did not want a kid with blue hands! of course I could just complete the project without the help of my girl, but what fun is that? 🙂 So it was experimenting time. I gathered up some materials from around the house and me and my little got to work! I knew that painted straight onto the fabric, acrylics would stiffen the soft cotton. That wasn’t what we were going for. So I played with mixing paint and water until I got my desired consistency! Here’s how we did it
First gather some old cotton clothes (or blankets, or whatever you want to dye)

Our shirts of choice!
next get together the following items
- A variety of colors of acrylic paint
- Containers to mix paint. you can use squeezy bottles if you want the splattered effect
- elastic bands, ribbon, string, etc to tie them up
- blocks, marbles, or other small objects to create “shapes” on your tye dyed clothes (optional)
- paint brushes (optional)
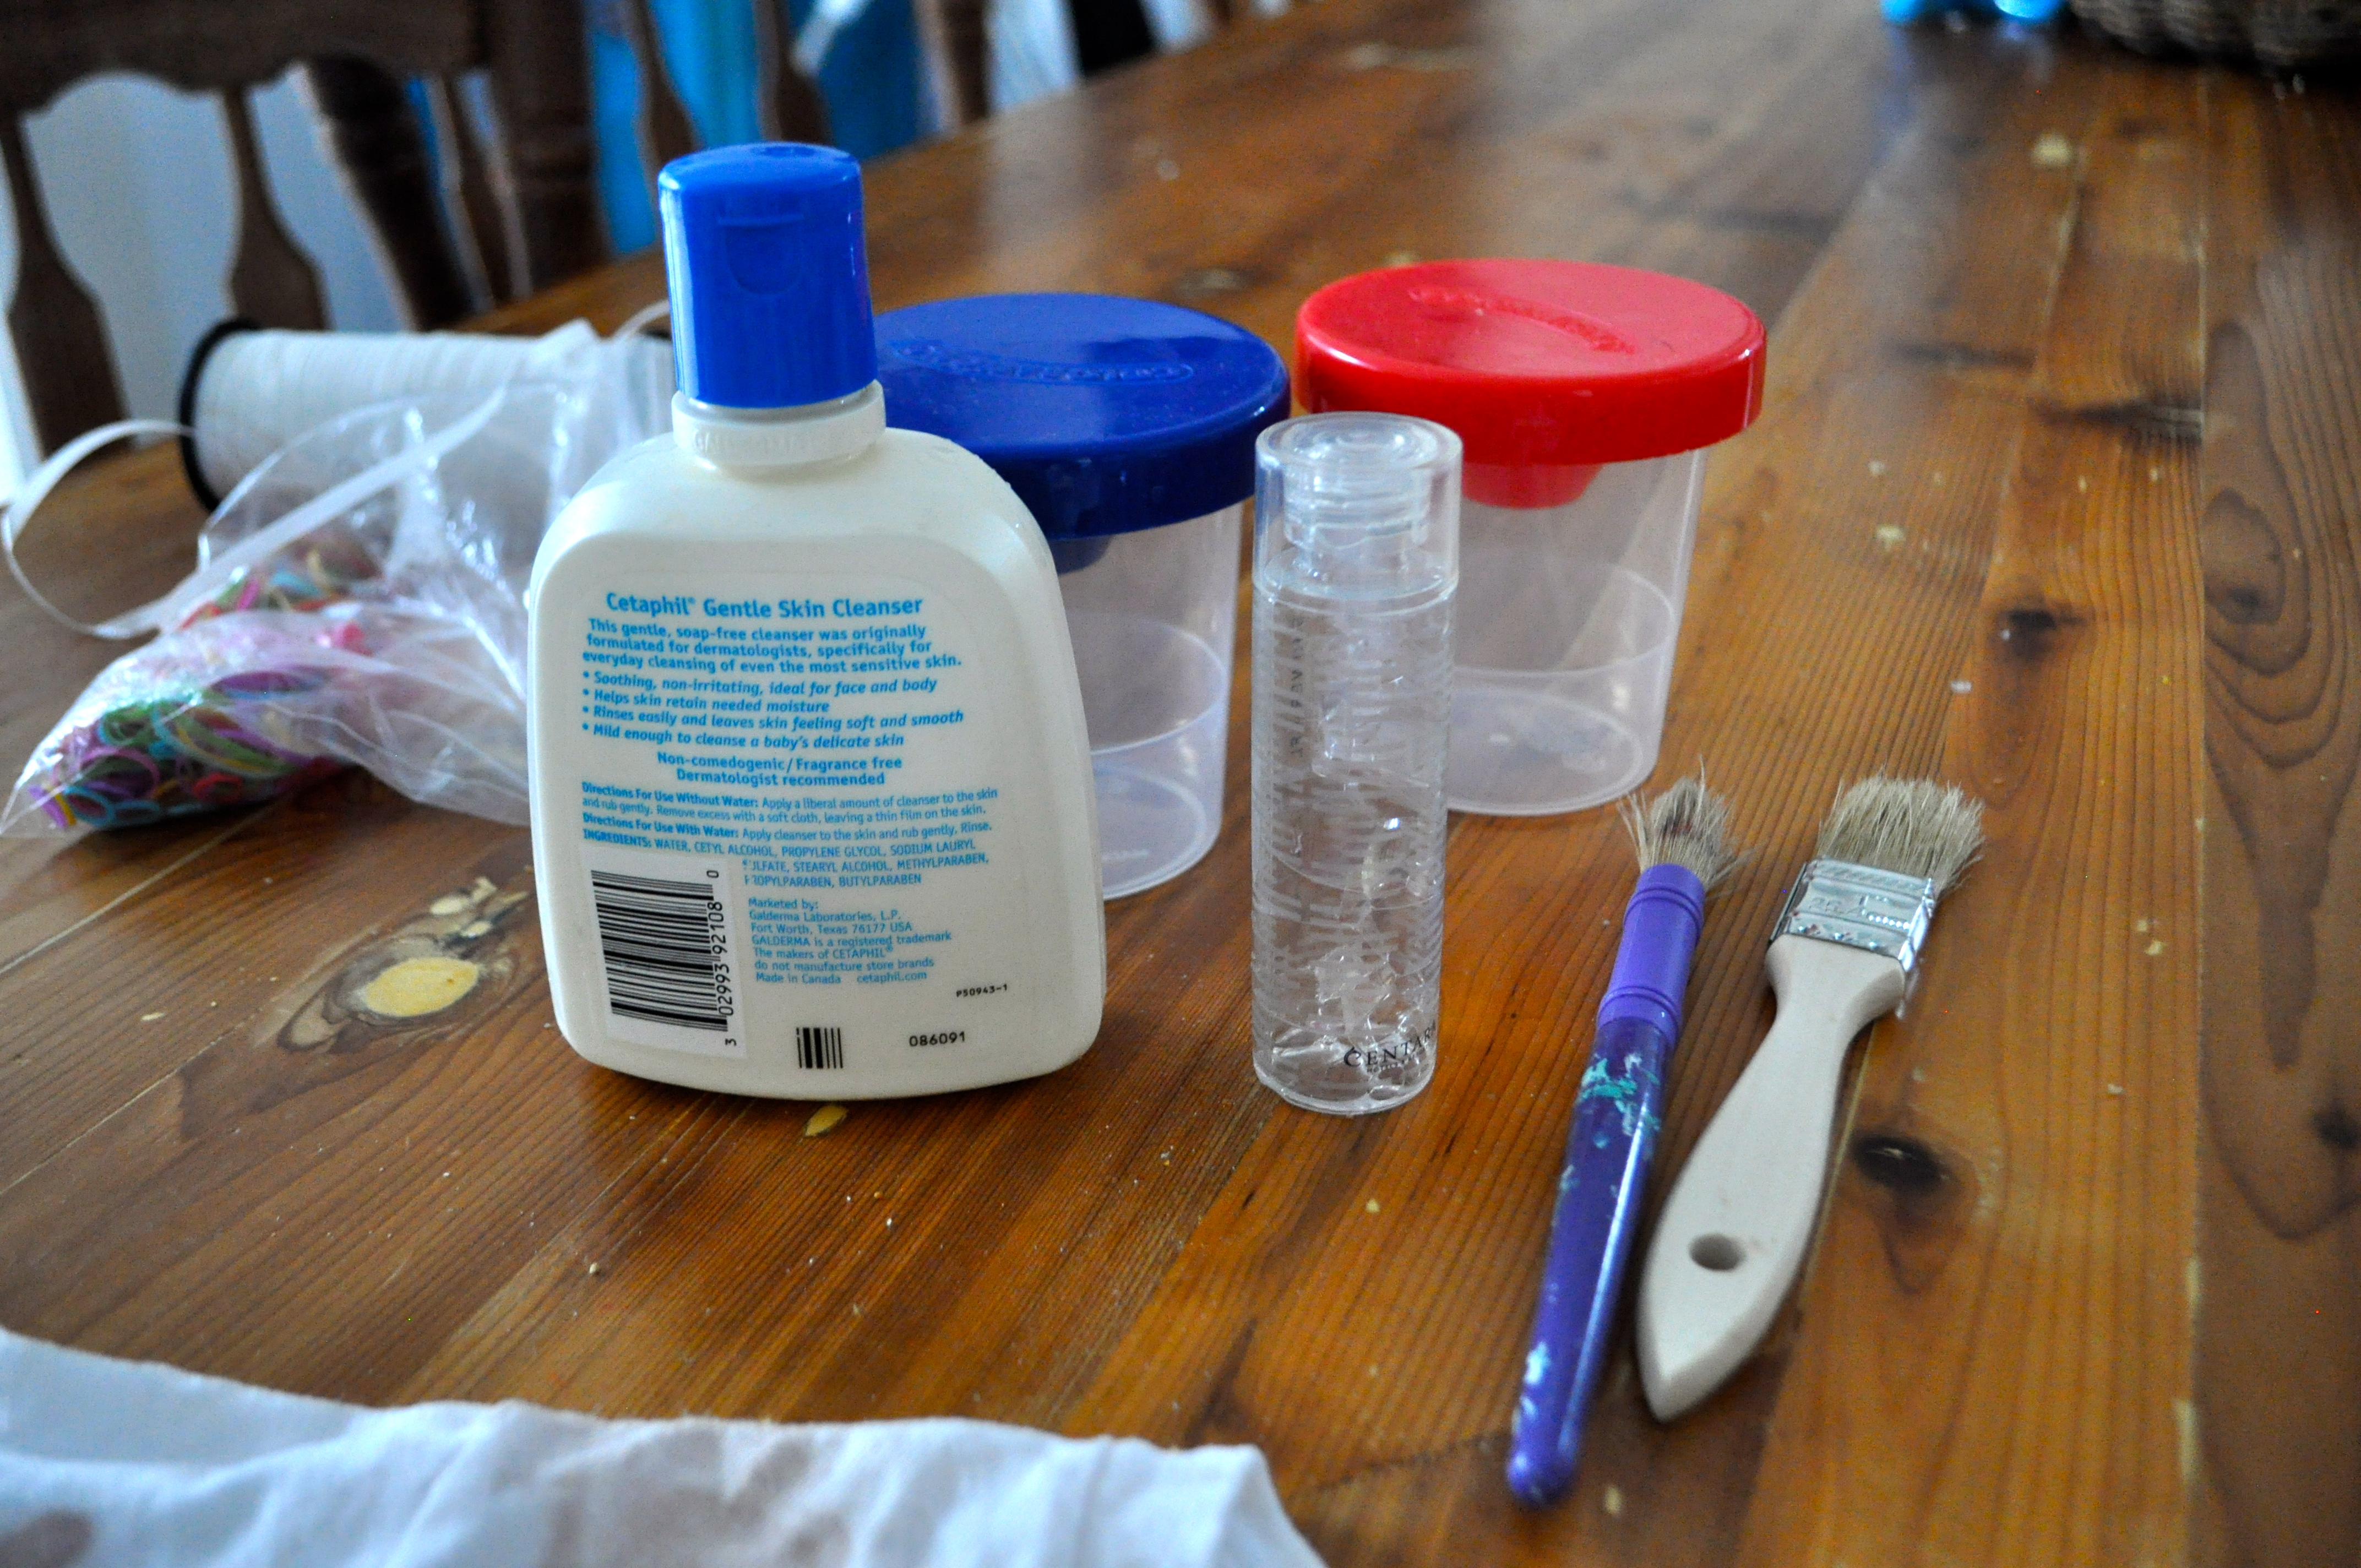
recycled squeezy bottles and paint cups

some blocks to create shapes
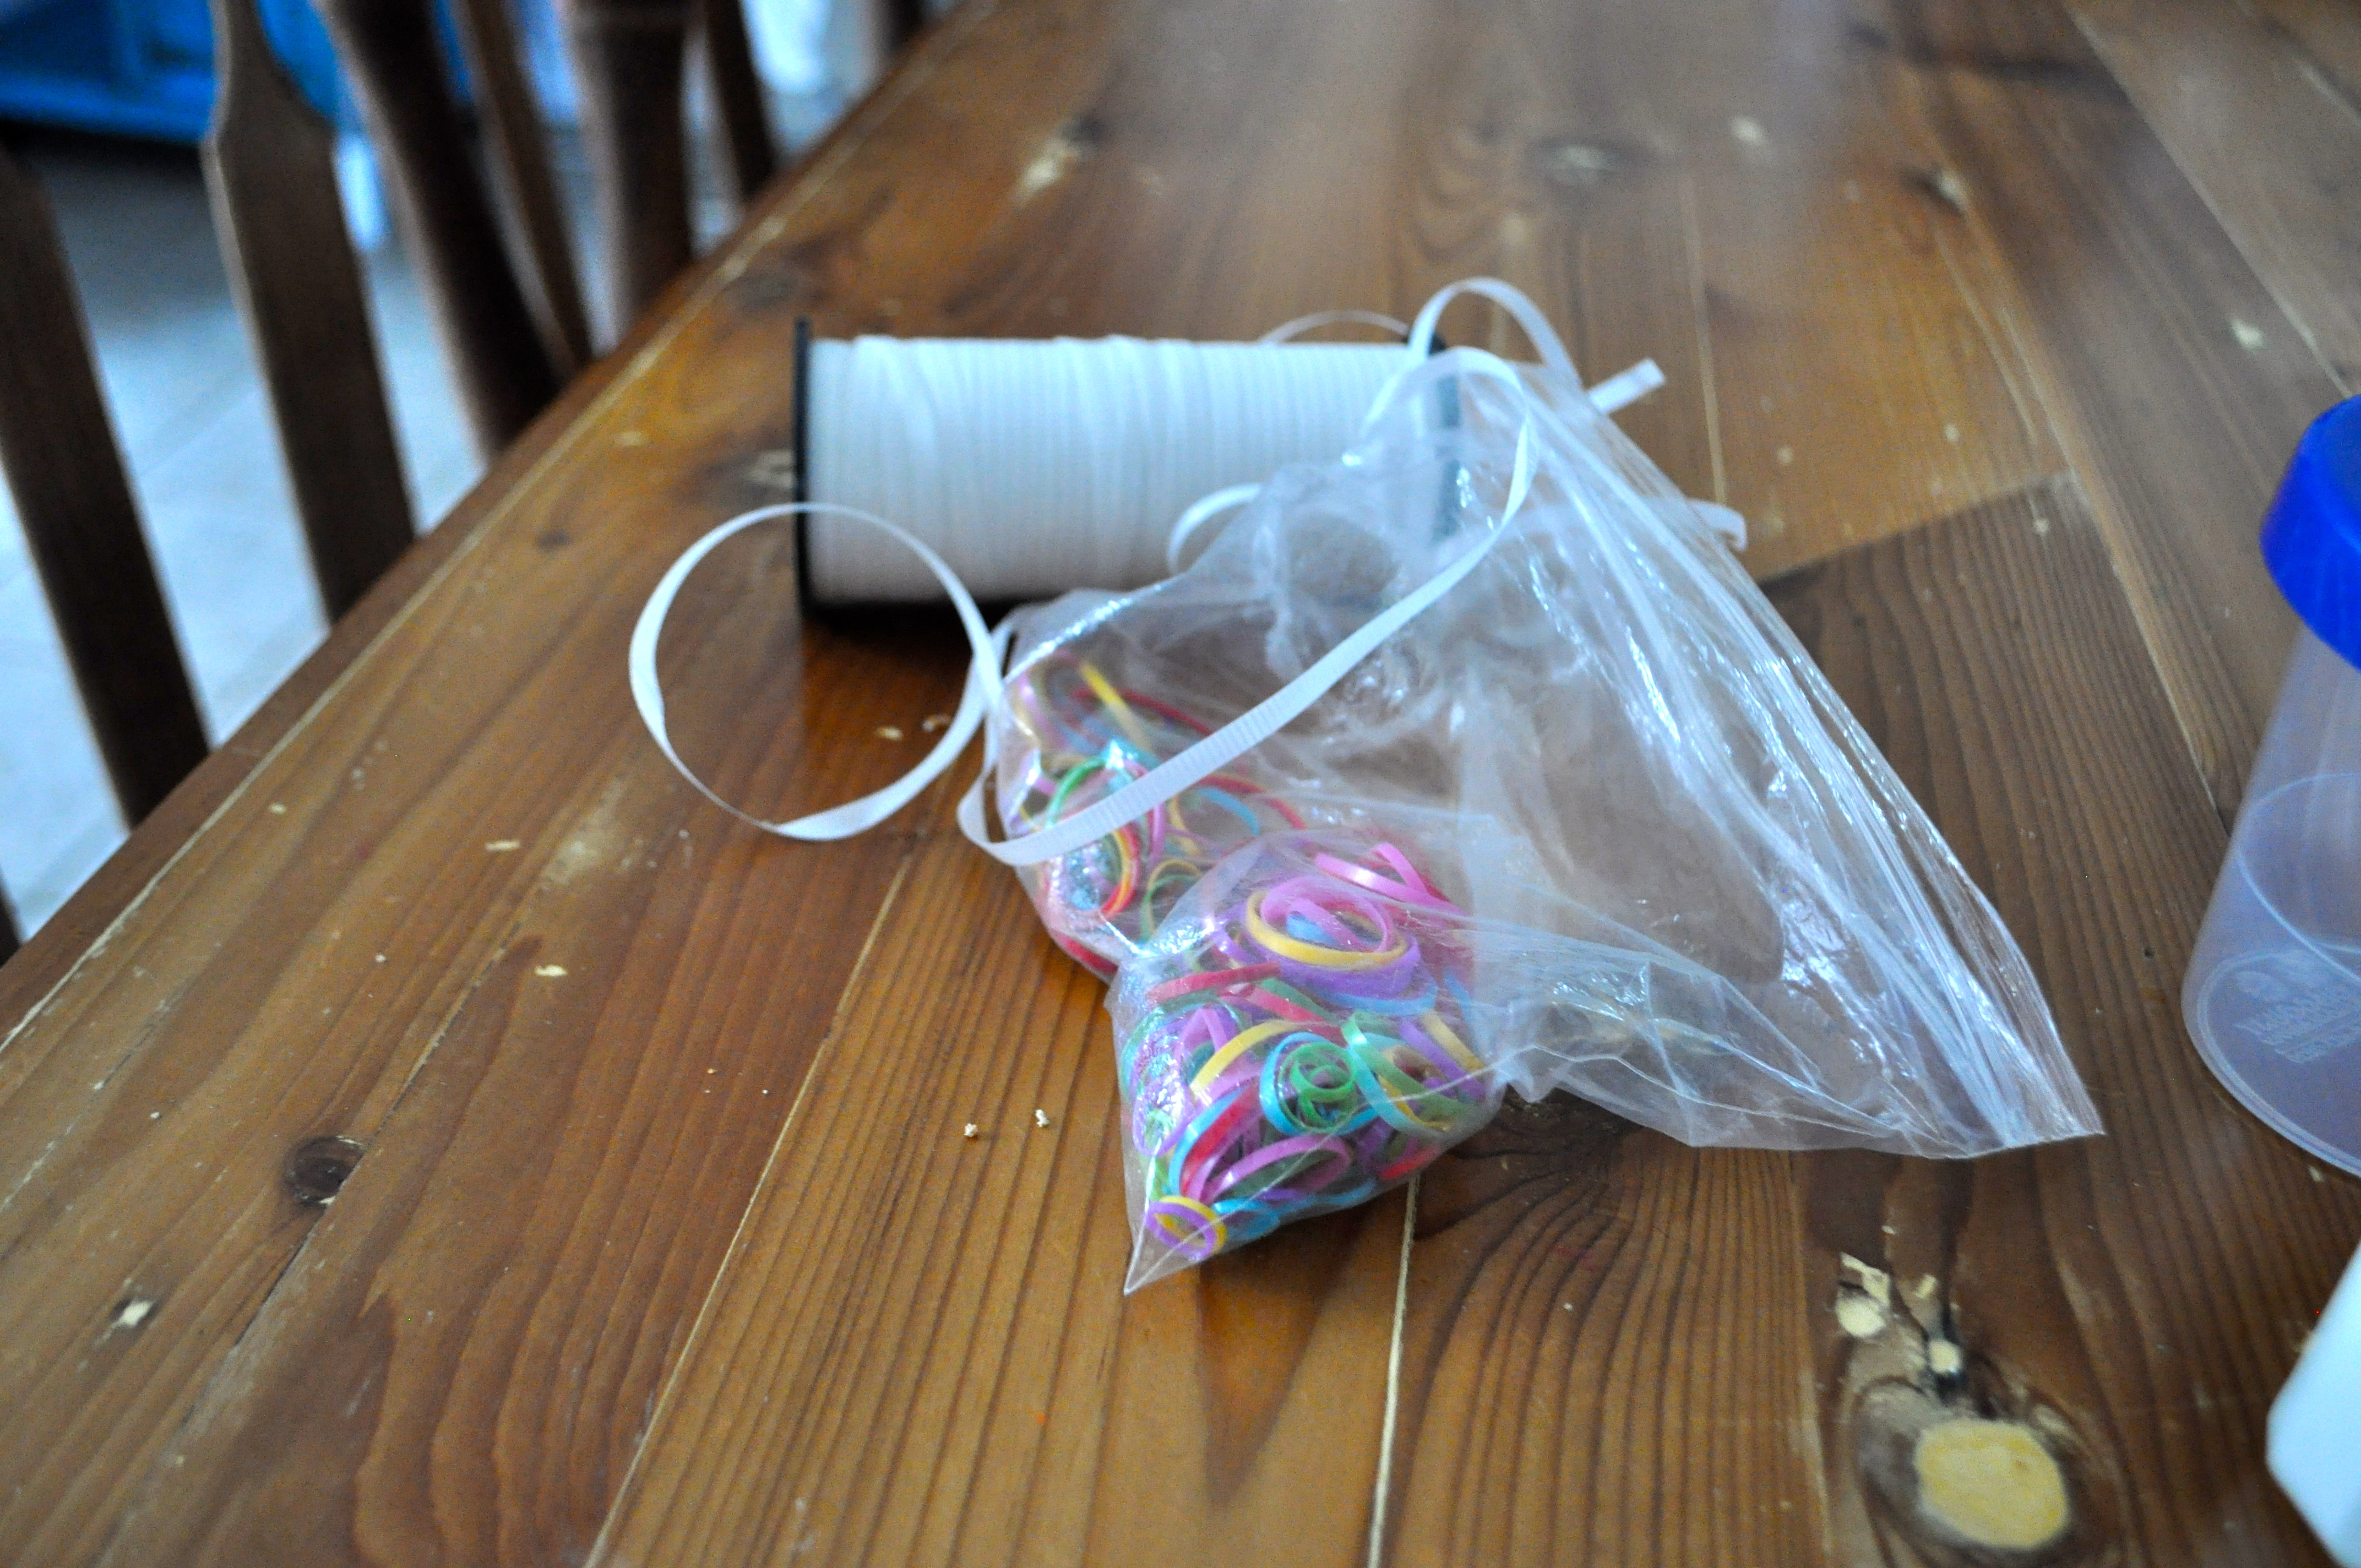
string and elastics
The first thing you want to do is tie up your shirts. You can do this one of a million ways, the possibilities are endless! We tried a few different techniques.

This one we used star shaped blocks and placed them on the inside of the shirt, stretching it around the block and tying it in place with an elastic

With this one we tied the shirt around donut shaped blocks, pulling some of the shirt into the hole in the center… we really didnt know what we were doing, we were just playing around with it 🙂

this one was simply twisted and tied up with a bunch of elastics!
next you will need to wet your shirts. Wetting the cotton allows for the paint to penetrate the material and spread to give a dye like appearance.

ready to dye!
Next you will be mixing your paints!
If you don’t like the way two colors mix, avoid putting them on the same shirt
tip* opposite colors on the color wheel will create brown or muddy shades when mixed. (red/green, orange/blue, yellow/purple)
Our colors of choice, same as our easter egg art 🙂
when you have chosen your colors, pour a small amount of paint into each of your chosen containers, one color per container. A good place to start is equal amounts of paint and water. For extra vibrant colors, add a bit more paint. For more muted colors, more water.
*To Give you an Idea, we used about 1-2 Tbs of each paint color, and sad plenty left over. You don’t need much!*

once you have everything prepped, head outside, or to an area protected with a drop cloth, and get to work!

Bean choosing her first colors
With this technique, you do not have to immerse your shirts in the “dye” you simply dabb on the paint and let it spread on the wet cotton. If you find your colors are not sinking in, or spreading as they should, re-wet your shirt, and/or add more water to your paints.
 If you are using squirt bottles, simply squirt the watered down paint onto the shirt, turning as you go. You could experiment with any sort of paint technique you like! Why not throw the paint at the shirt? or put it in a spray bottle and spray the shirt? what about a water gun? Just have fun with it 🙂

All dyed up!
Once you are done “dying” your shirts, leave them out in the sun to dry. This part is difficult, but important.

drying in the sun!
When they are all dry, cut off the ribbon or elastics, and admire your handiwork!

woohoo!!

our “star shirt” didnt really turn out as expected, but it still looks great!


Before wearing, be sure to wash them on a regular cycle. *** Make sure they are completely dry before washing them, or some of the paint may come off!
Enjoy your brand new play clothes 😀
-Sarah

So fun! I really need to do some fun stuff with Sophia!
perhaps you could join us for a guest post on a DIY easter photoshoot this week! Im thinking of setting it up tomorrow!
very cool!
That drawer full of “play clothes” that are full of stains, or bleach spots. Maybe they are yellowing… but they are still good comfortable clothes for your kids. when you have chosen your colors, pour a small amount of paint into each of your chosen containers, one color per container. A good place to start is equal amounts of paint and water.